
Fitting the soundpost in a cello or other bowed instrument is such a delicate matter and musicians often ask how I can set and fit it inside the instruments body. Here is some rare footage of the sound post setting process filmed from the inside as well… …perfect fit to the inner surface…with the right tension…in the […]
Tag Archives: workshop
The cello is nearly finished now. I just prepared and glued the fingerboard, saddle and nut. Next will be the tuning pegs, the endpin, tailpiece, the bridge and soundpost…basically the whole Ilja Grawert deluxe set up I cannot wait to finish setting up the cello and hear it’s beauty 🎻❤️
Varnishing a cello needs sun…I woke up in the morning and saw there was sun, finally after nearly 5 month of rain. Straight in the workshop I started the varnish layer process. There are many more layers of colouration and glasing. This beautiful cello will be of dark antique colour. #violinmaking#musicalinstrument#violintutorial#celloshorts#cellolove#cellomusic#cellomaker#cellomaking#bespokecello#bespoke#violinmaker#celloplayer#cello#cellos#violoncello#celloaustralia
In a rain pause, the varnishing of a cello could begin, starting with a ground coat to stabilise the timber and block pigment absorption. Detailed ‘Fleur De Liz’ designs are added layer by layer atop the ground coat, requiring fine brushes for precision.
Stunning reflection on the flamed maple wood after ground coat application
The April 2024 Update No 5 from 7/8 Studio details the precise fitting and gluing of the cello neck to the body, ensuring alignment and correct projection. The back plate is to be attached, with anticipation of hearing the assembled body’s resonance for the first time after the glue dries.
In this update, the cello plates’ flexibility and thickness are assessed, and their balance is fine-tuned before the proprietary ‘Ilja Grawert sound system’ is applied to enhance the instrument’s tone akin to that of antique cellos. The final step involves gluing the top plate to the sides.
The bass bar, after installation and gluing, requires shaping to effectively disperse deep sounds across the top plate and to support the bridge’s high pressure. The back plate’s interior thickness must be roughly adjusted.
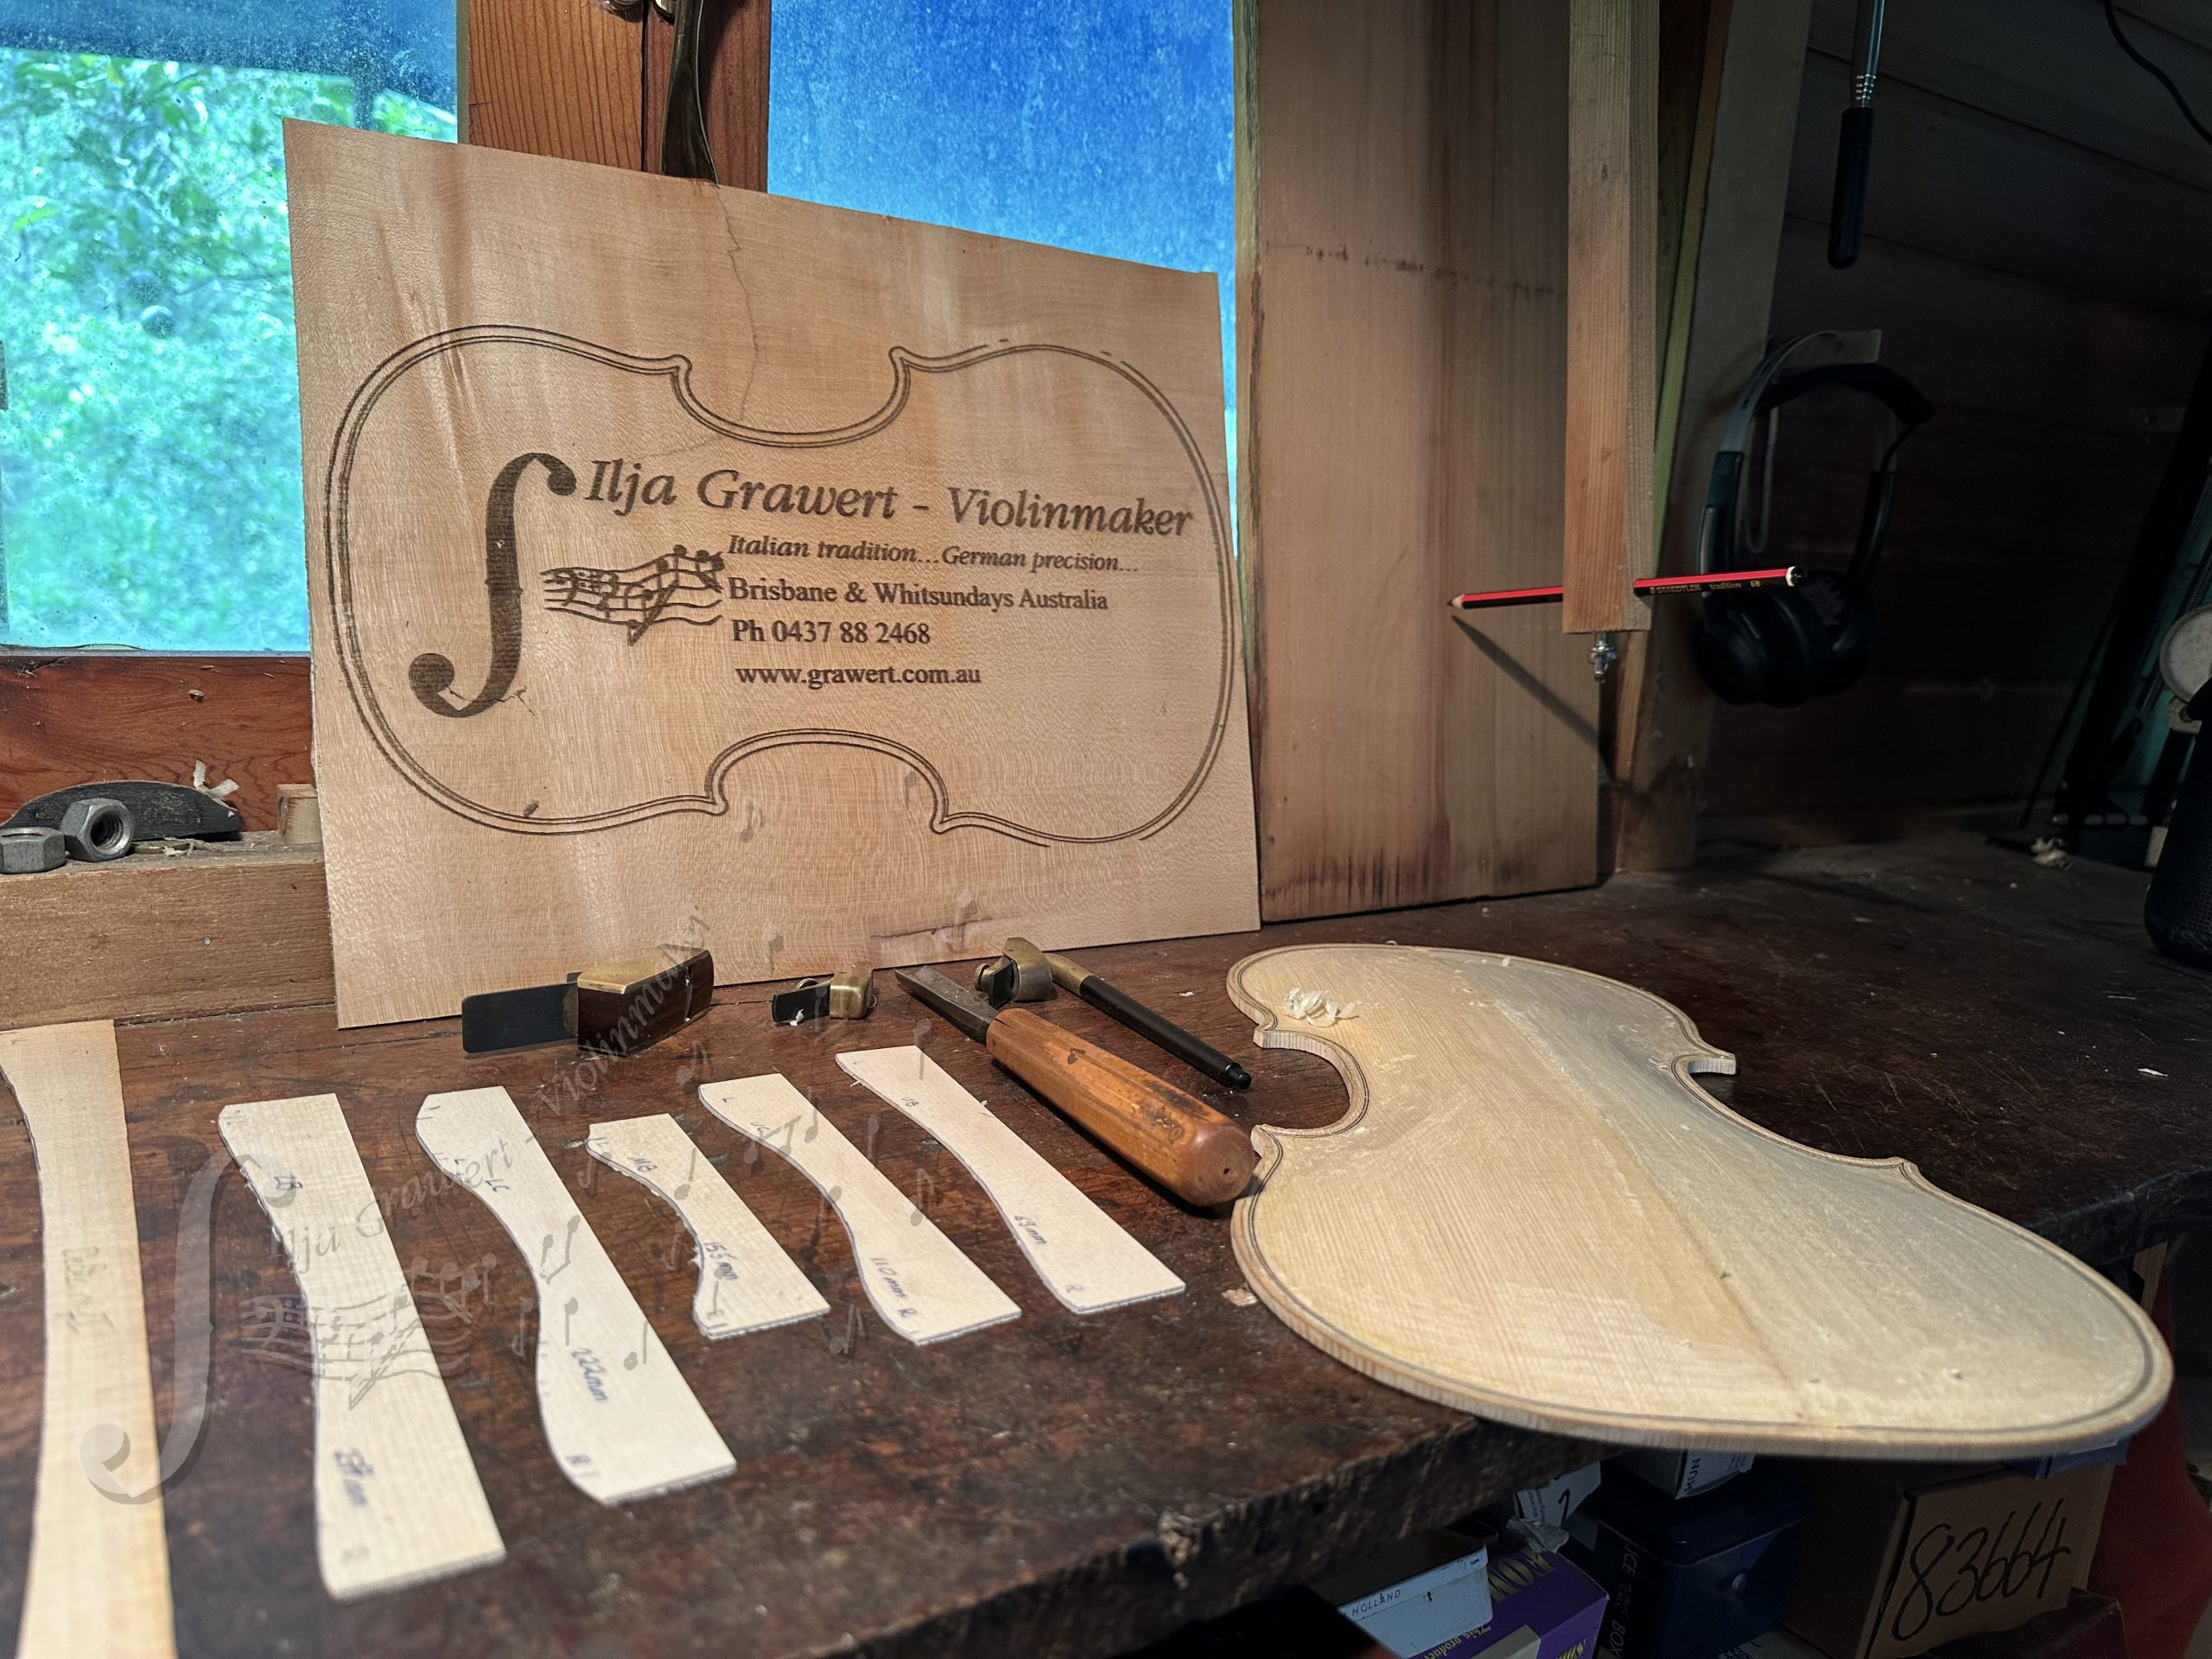
In the latest update, the focus has been on refining the top plate’s thickness with a sharp scraper in preparation for installing the bass bar, which is crucial to the cello’s excellent sound. The update details the careful determination of the bass bar’s dimensions and position. The forthcoming second part will illustrate the bass bar’s preparation with a plane, fitting with a thumb plane and chalk, and a trial clamping to ensure proper placement before the final gluing process.

17
Mar
Mar
Ilja Grawert of Queensland, Australia, is crafting a 7/8 studio cello, customizable during early construction. Prepared with seasoned European woods, it offers options for personalization in measurements, varnishing with natural products, and potential Fleur De Liz decorations. Completion time varies based on client specifications and urgency. Grawert’s 42-year experience guarantees a unique, masterly sound.

15
Mar
Mar
Over the past week, I’ve reshaped the exterior and interior of a studio cello’s top plate, preparing for fine-tuning to enhance its sound; update to follow.