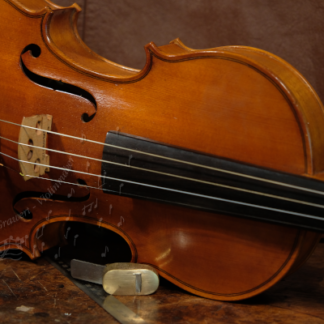
After the neck has been fitted and the back glued on it is now time to cut and shape the neck, first with a gouge forward the neck root and then with my carving knife, thumb planes, rasp files and finally sandpaper first rough and then fine grid. Then the outside of the cello needs smoothening and making the surface all beautiful and soft with a scraper. That part of the work is very important and usually takes days to complete.
Tag: Grawert violin maker
7/8 Studio Cello April 2024 Update No 5
7/8 Studio Cello April 2024 Update No 5
Now it is time to fit the neck into the body, which is done mainly with a very sharp chisel. After hours of fitting, making sure that the neck is perfectly fitted, lined up with the f-holes and with the proper projection, I glued the neck and left it clamped overnight. then the back plate needs to be glued on. After the glue is dried this is the first time where I can hear the sound of the whole body assembled…beautiful resonance…
7/8 Studio Cello April 2024 Update No 4
In this update I am checking the flexibility of the plates, measure the thickness, balance the plates and then finally it is time to apply the special ‘Ilja Grawert sound system’ which is naturally my trade secret. This will give the cello its beautiful, warm but still carrying tone like you usually only find in old instruments. Then I glue the top plate onto the sides
7/8 Studio Cello April 2024 Update No 3
After the bass bar has been fitted and glue it now needs to be shaped that it can fulfil its purpose or spreading the deep sounds as fast as possible over the whole top plate and act as a support for the high pressure from the bridge onto the top plate. Then it is time to roughly adjust the thickness on the inside of the back plate.


